Placement / Building
Space rules and feedback loops drive strategy and cascading rewards
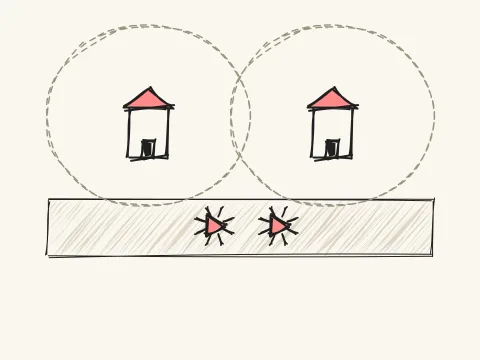
Place buildings or towers onto a limited grid — good placement doubles your income. Tower defense, SimCity, and base-building games are built on this.
You hover a building over the grid, hunting for the highest-yield tile to commit; income ticks upward line by line while you already ponder the next placement — the grid is never big enough.
The best demonstration of "space as a resource" — if you want position itself to become strategy, placement play is required study.
Placement play translates spatial relations into numeric yield: adjacency, edges, and density all map directly onto output differences — what players place is not buildings but the shape of a payoff function. The hard part is not what to place — it is previewability and feedback cadence: illegal tiles must explain themselves instantly, and income settlement must show the layout paying off. A player thinks "that placement was clever" because spatial decisions are visible and verifiable.
Placement play satisfies the planner’s appetite for order: arrange limited space into your own optimum, then watch the income curve rise along your layout — the most direct redemption of intellectual aesthetics.
Placement building is a golden niche between strategy and casual: tower defense, base building, and city management all live here, and spatial constraints let content depth grow without numeric inflation.
Learn placement and you learn the craft of digitizing spatial relations — adjacency bonuses, edge risks, density boundaries — a mindset that turns maps into payoff functions, equally valid in tactics games, card positioning, and economy systems.
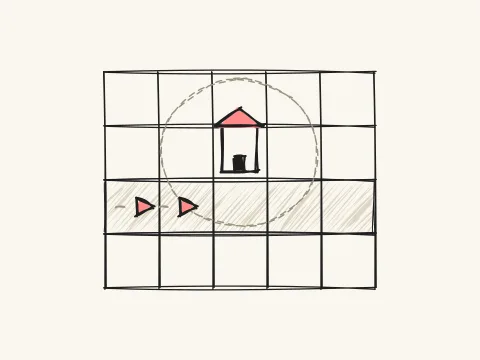
- Beginner: understand the layout loop — pick → preview → place → yield/block → adjust — and reproduce an adjacency bonus in the demo
- Intermediate: write the occupancy and connectivity contract (grid, snapping, synergy coefficient, expansion cost) and tune the density-vs-yield tradeoff
- Advanced: design edge bonuses and risks (defense exposure), and verify spatial-strategy depth with layout-density distribution and expansion-timing distribution
② Instant Playable Demo
③ Behavior System Breakdown
- Visualize spatial relationships like tile occupancy and connectivity to reduce cognitive load.
- Allow previewing and undoing incorrect placements to reduce frustration and trial‑and‑error waste.
- Use layout optimization and cascading rewards to drive ongoing objectives instead of a one‑off placement.
- Placement check: object size ≤ 1×1 grid cells and non‑overlapping; size > 1×1 must occupy contiguous cells and not intersect already‑occupied objects.
- Connectivity bonus: adjacent same‑type buildings earn +10% income; excessive connectivity accelerates resource consumption, so balance layout density.
- Edge bonus: placements on the perimeter earn +5% income; however, they are more vulnerable to attack, so consider defensive layout.
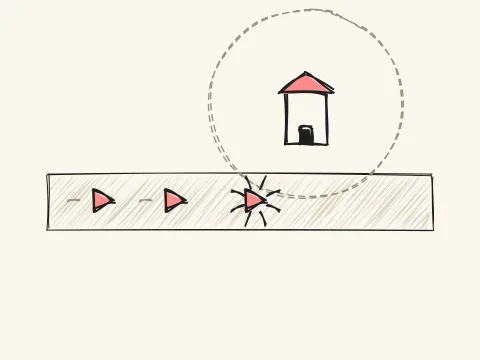
- Preview/Highlight: before placement, highlight legal/illegal zones; illegal zones are marked red with a reason to help players correct quickly.
④ Common Combos & Variants
⑤ Advanced Design & Algorithms (collapsed)Click to expand
- Lack of preview and failure reasons will break the placement experience, making it hard for players to judge legal placements.
- Too many constraints without sufficient feedback will leave newcomers stuck, steepening the learning curve.
- Slow reward settlement reduces perceived strategic payoff, leading players to think the layout is ineffective.
- Grid: placement, attachment, rotation, collision
- Path: path feasibility (walkable/unwalkable) and connectivity checks